CathyB: This is a better picture. It is Reineer Parade by JBW Designs.


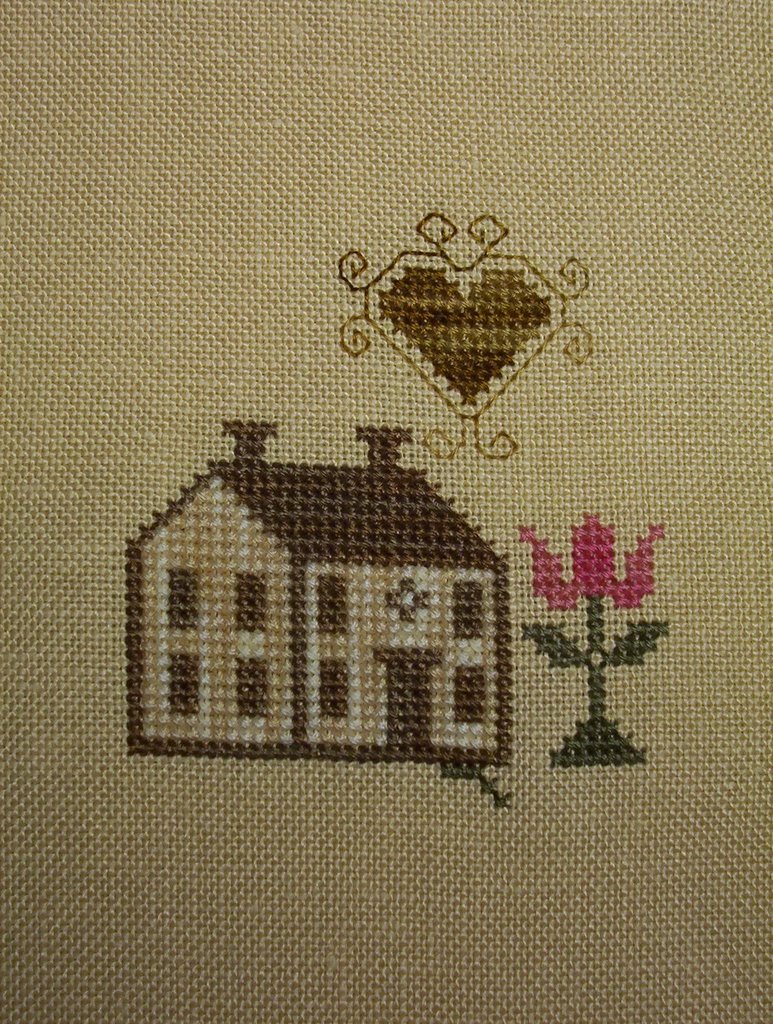
 I keep looking at the photograph of the completed project. I would like to get mine done, too. The Game Board SAL will be starting up next week - to stitch TWO squares per week. I've been stitching one house at a time - I think I'll be doing a house and one of the motif squares per week.
 And, yes, two of the cats are getting along very well. Aren't they sweet?
 This is a small pillow. For my husband & I
 Isn't this cool? Made for Alex
 Very sweet. Made for Nicholas. There is another package for our daughter who will be home from college on Saturday. Lucky us! I have not been stitching at all. I did finish my re-do of the entire household. I'm looking forward to holidays and family activities. I keep it simple. Did anybody else peek at the calendar & notice it is the 12th?? Where do the days go?
 The work on our bedroom ceiling is finished. I was planning to roll up the drop cloths & put my 'corner' back in place ... didn't want to wake our Prince Nikki.
  Mrs. Kitty is doing well. (my husband continues to call her "kitty" & made mention she really needs a name) Last night, she brought three mouse toys to my husband while he was asleep ... and proceeded to play with them. She has attached her affection to him & I laugh because he is such a 'dog' person.
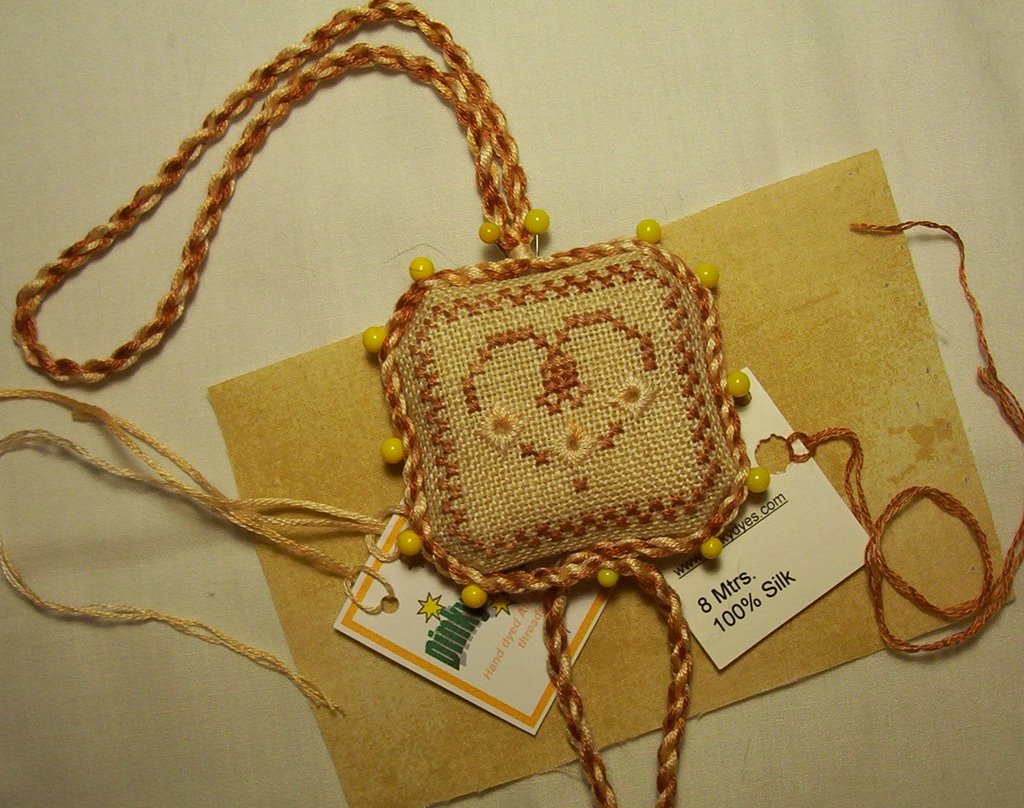 I stayed up until 1:30 a.m. [earlier this morning] trying to get the set finished. After pinning the cord in place, I quit for the day! Needed some sleep. Tonight, I plan to sew the cord on after the evening meal.
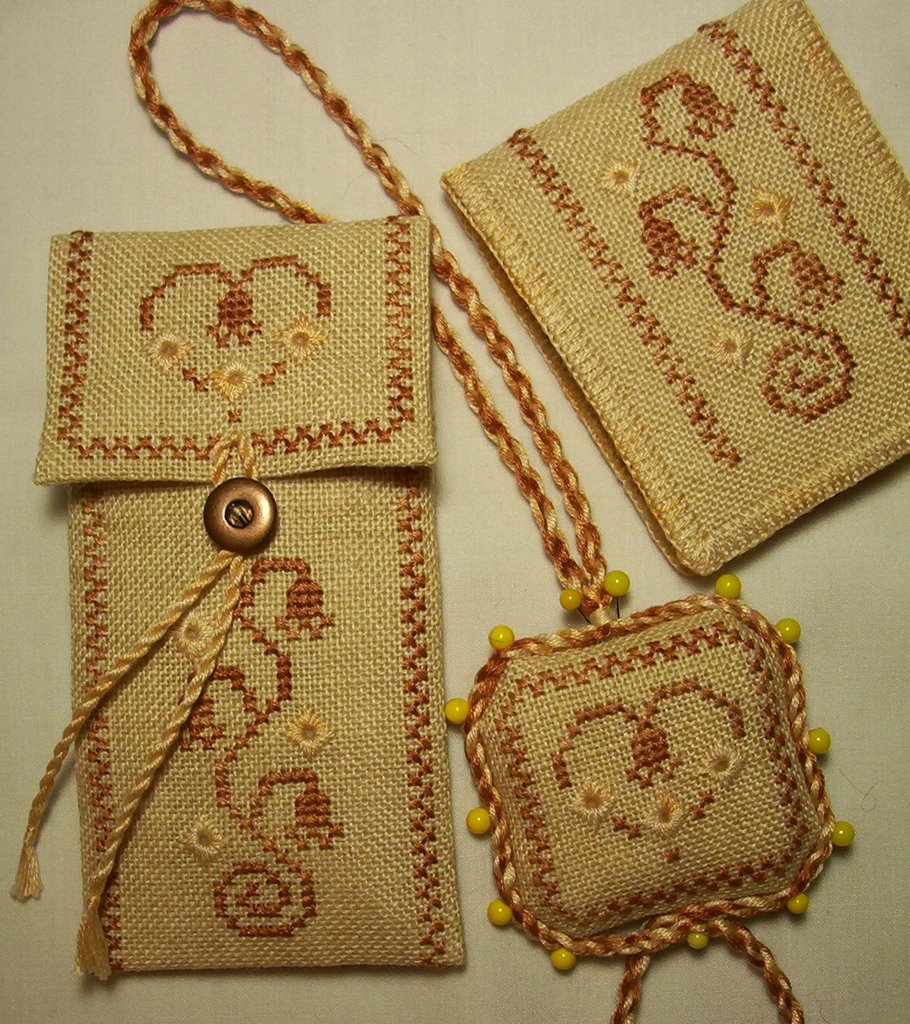 The scissor pocket and needlebook are all done. ta da! I used the lighter color silk for the cord on the scissor pocket. Other than changing the cord color, I followed the finishing directions on the scissor pocket provided on the pattern.
 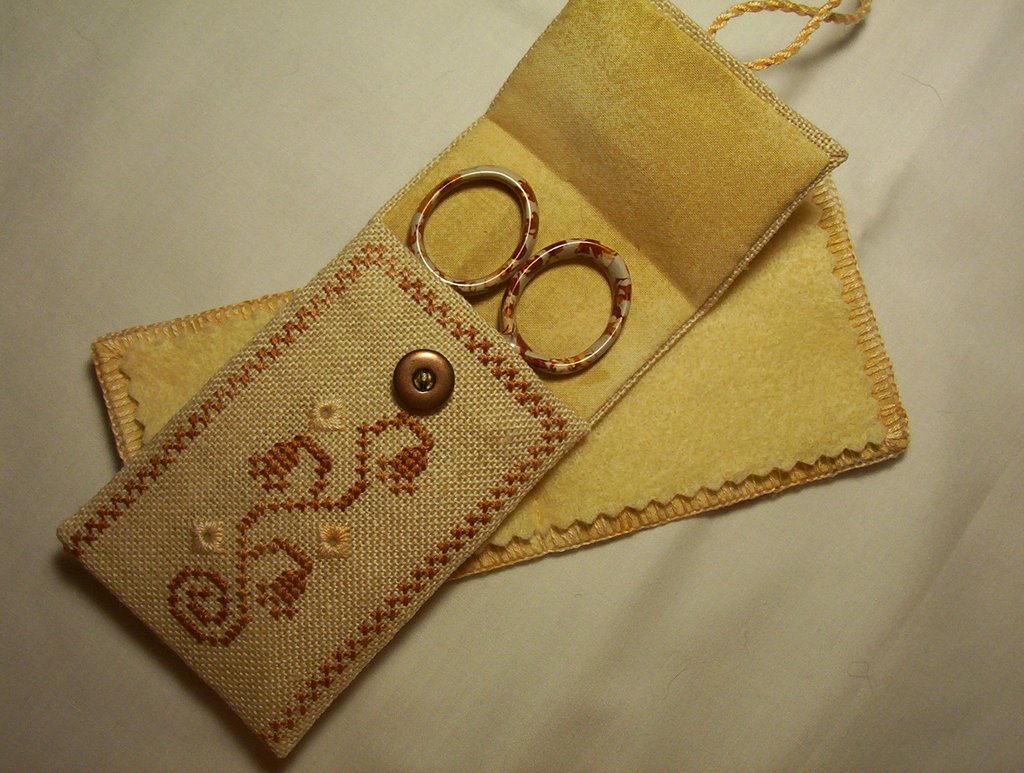 This is the inside of the needlebook & the scissor pocket. The scissors fit nicely inside.
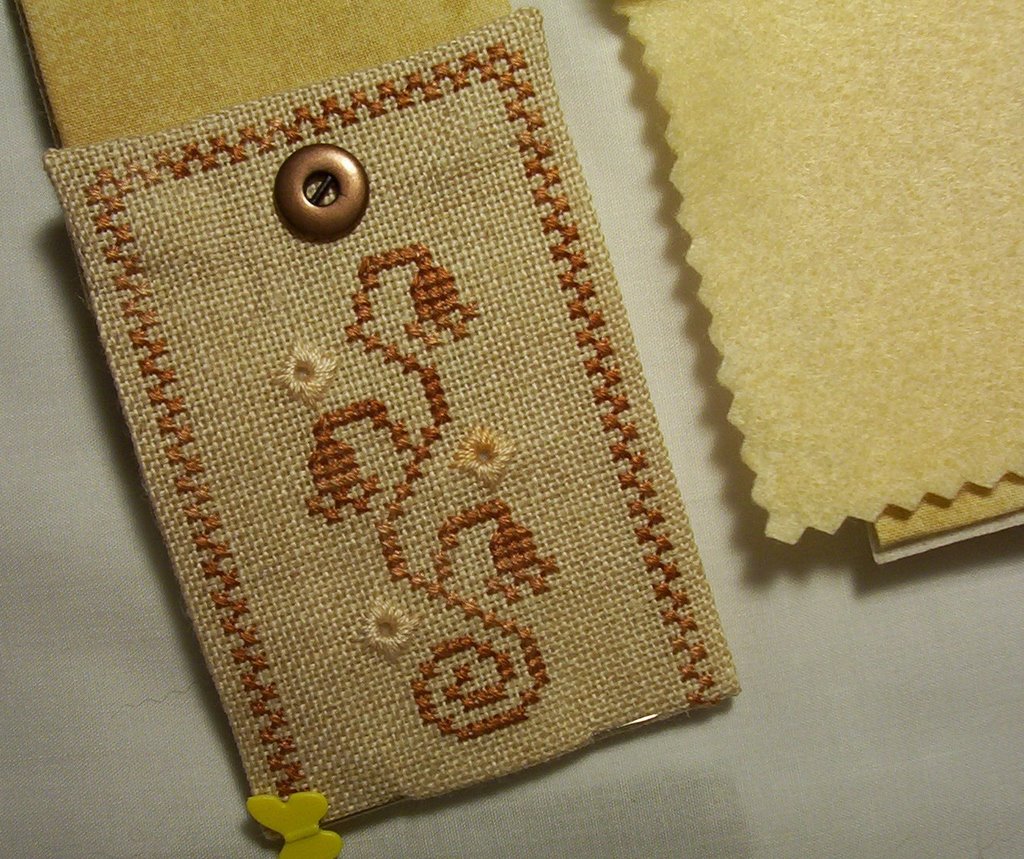 When Myrna & I started the weekly scissor pocket SAL, we were guessing 2 weeks for stitching and 2 weeks for "finishing". For me, it took 3 weeks to stitch & this is my 2nd week for the finishing. This photo shows: Interfacing has been ironed inside + the cotton fabric is pressed & pinned, & idea where to sew the button in place. Myrna suggested adding the button & cord before sewing the lining in place [sounds like good advice].
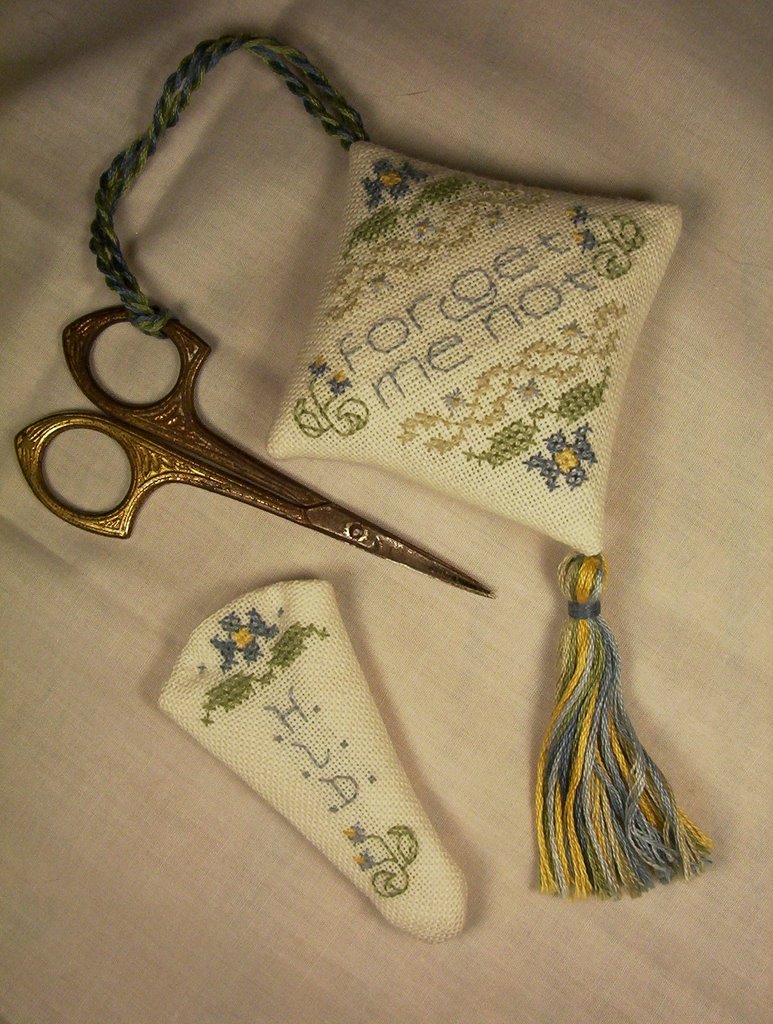
 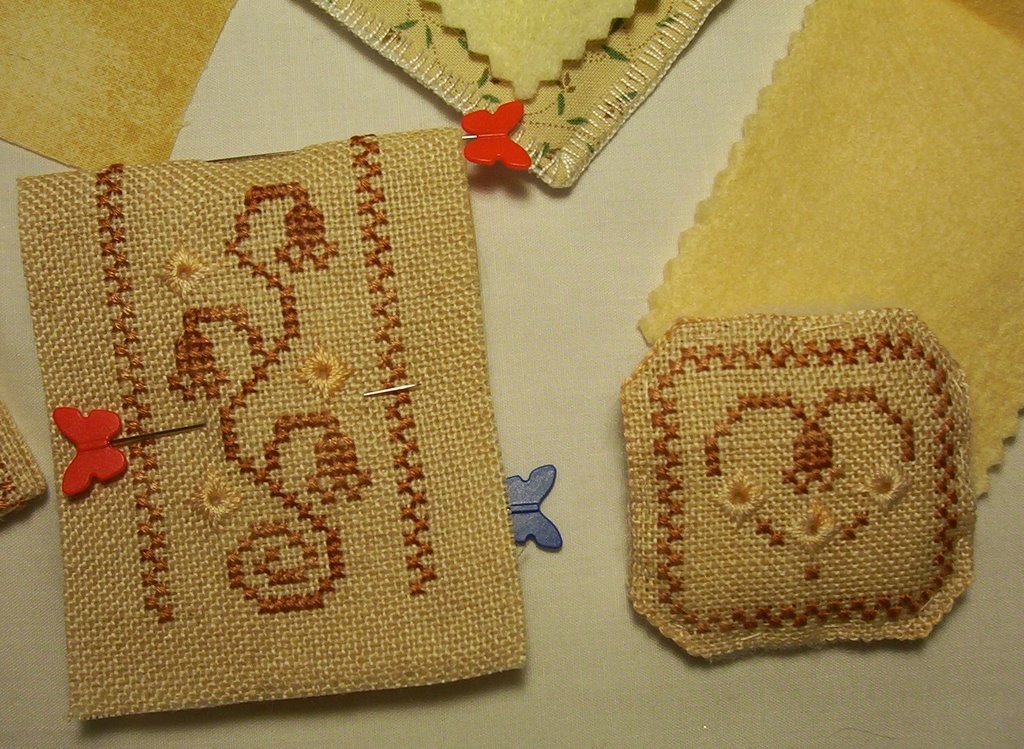 Second Photo: Shows the needlebook front, scissor fob basted together, and the 'french vanilla' color felt. I want to finish the needlebook similar to the one in the top-middle of the photo ... I plan to use a buttonhole edge with the light silk. Using a sharp needle, I'd stitch thru the linen & lining at the same time. Inside will have the cotton lining (currently folded on the edges & pinned in place) AND the felt added last.
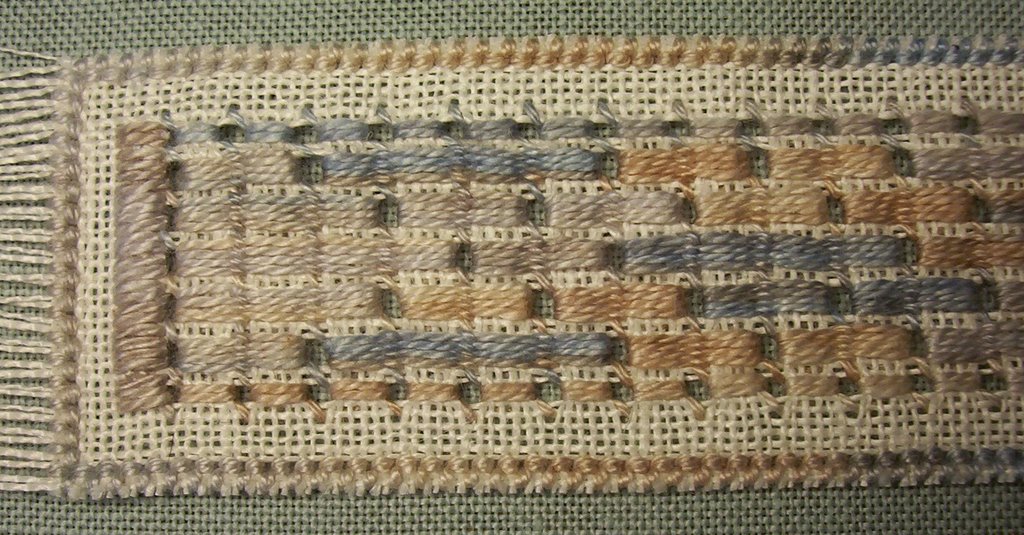
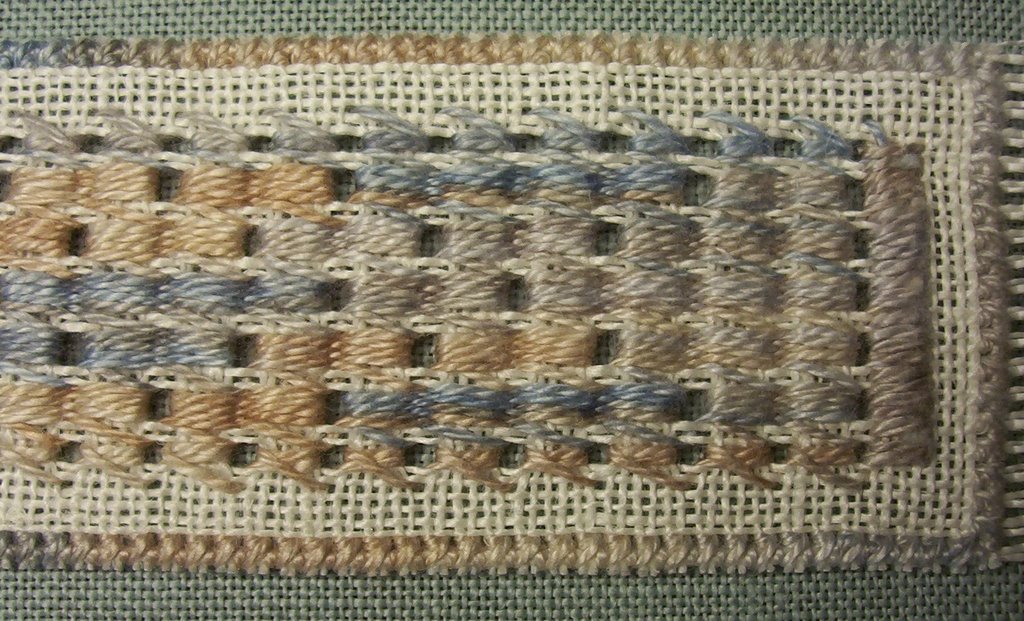
 This is the back of the scissor pocket. I like the progress I've made so far.
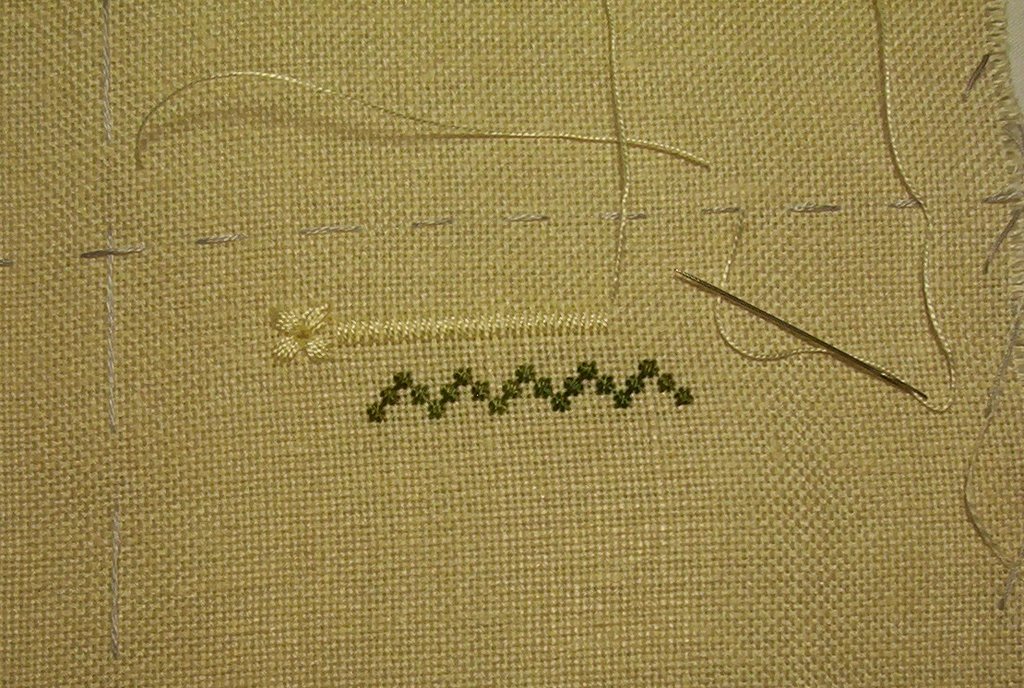
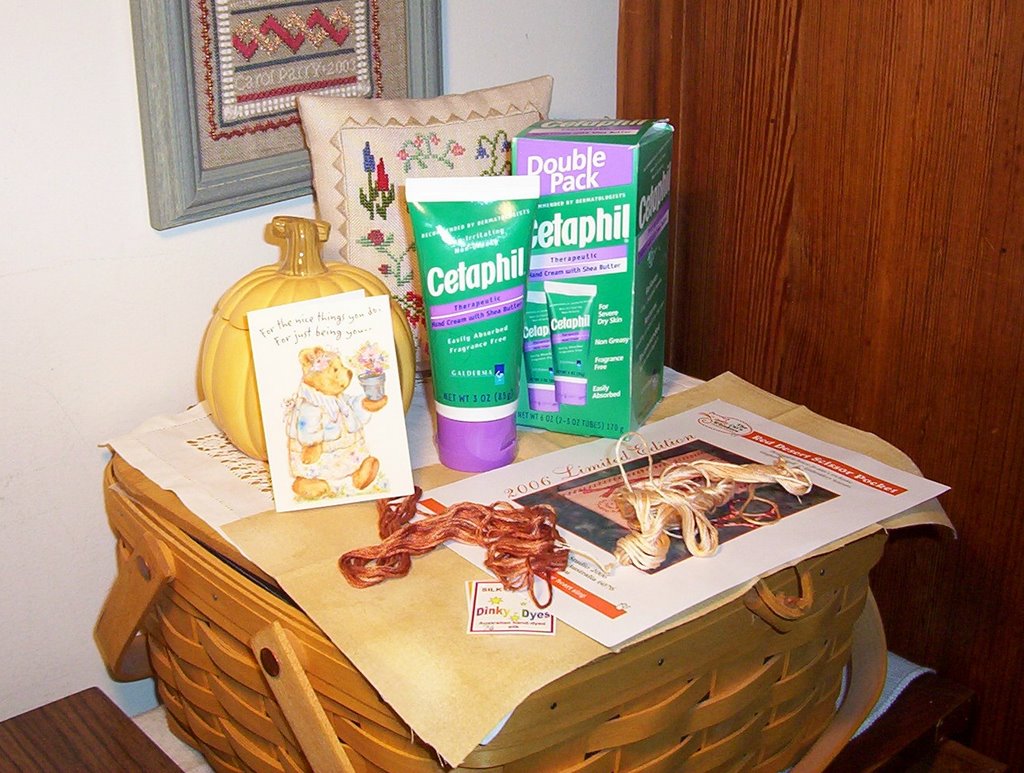
 One problem I HAD, was the button. I couldn't find it (never mind I bought this pattern, floss, button back in 1998). Lucky me, Tina had charts for button substitutes. Tina has a picture on her blog of "A Stitch in Pine".
 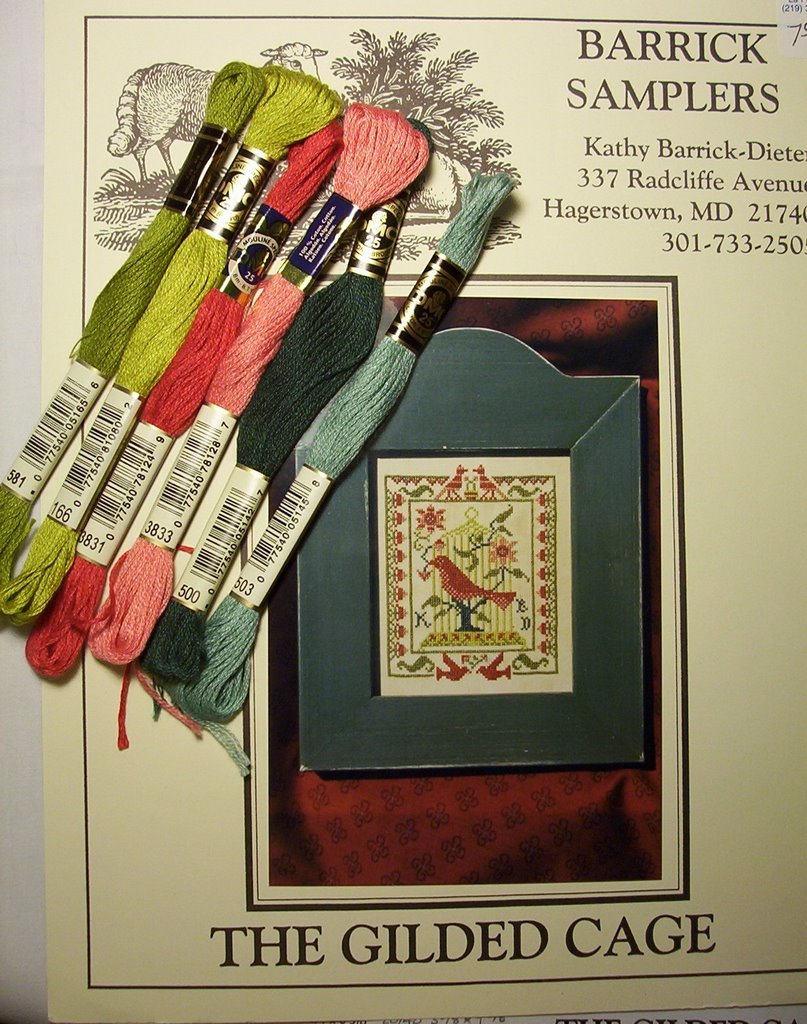 Now, after working on WIP after WIP, it is really fun to get out THREE new projects to stitch.
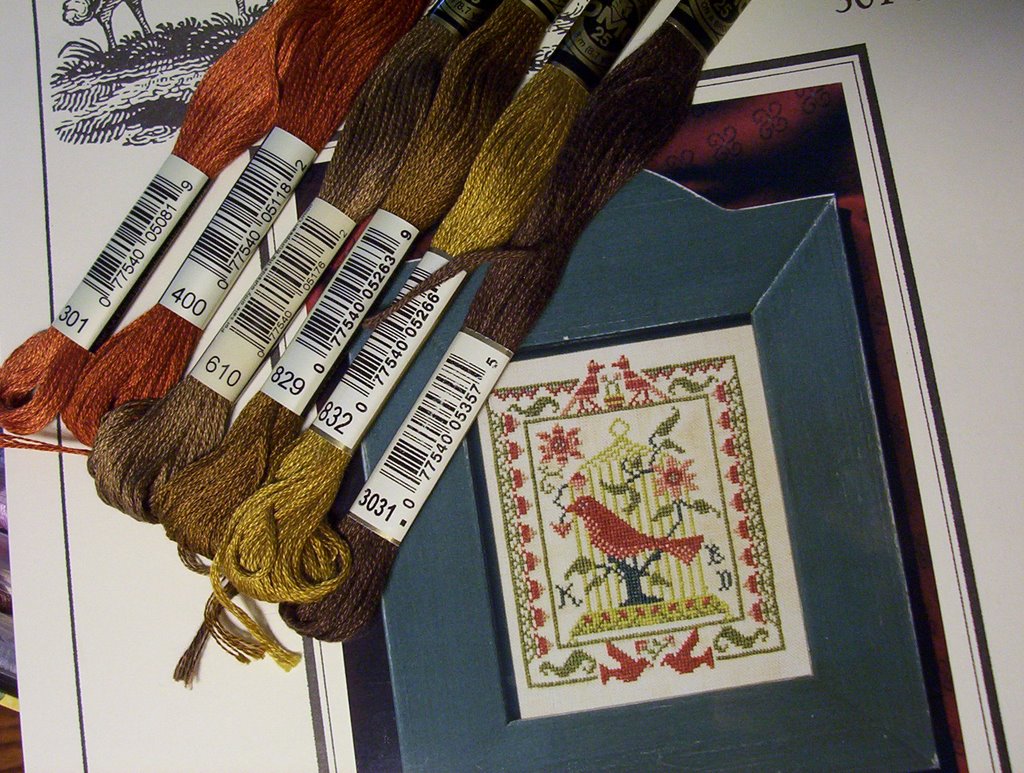 See the difference? These are the floss colors the pattern calls for.
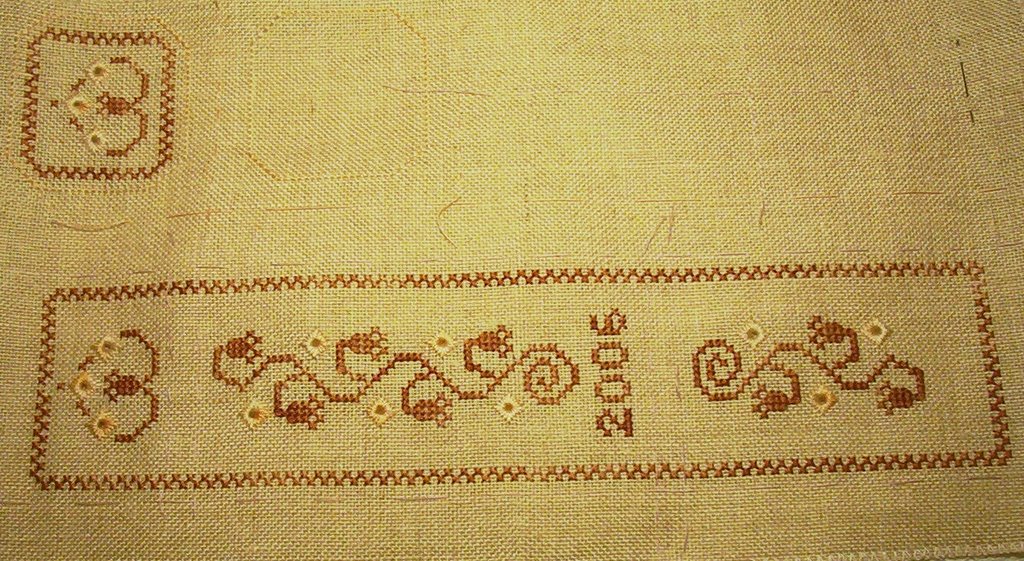
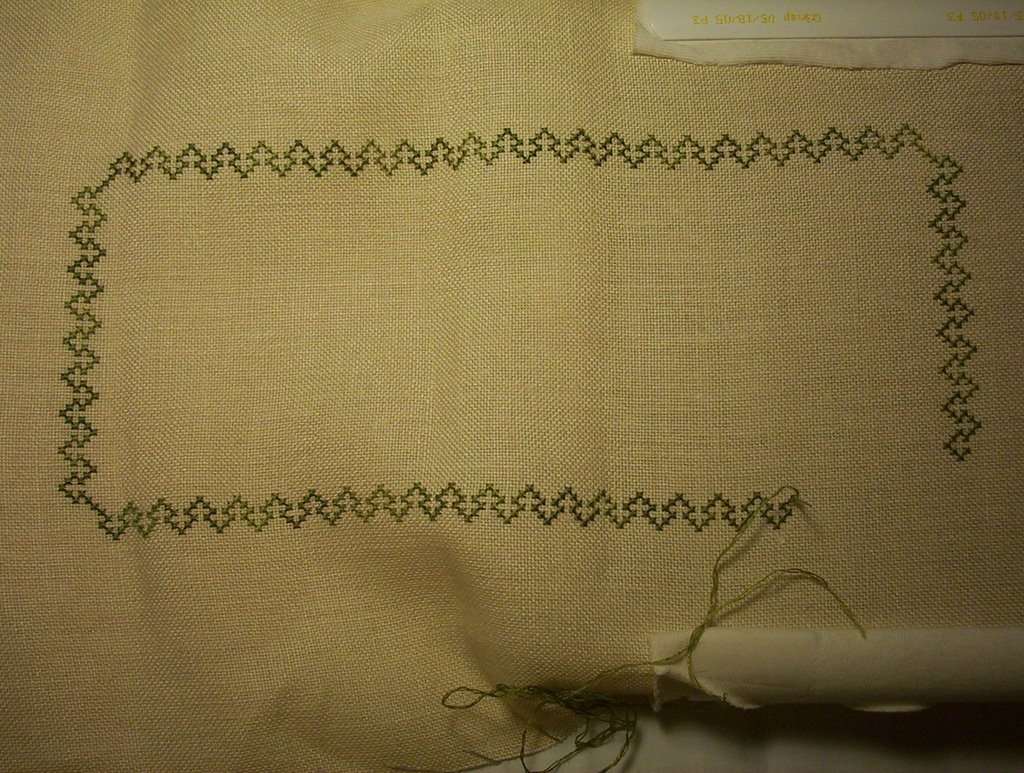
 Progress Photograph - still working on the hemline ...
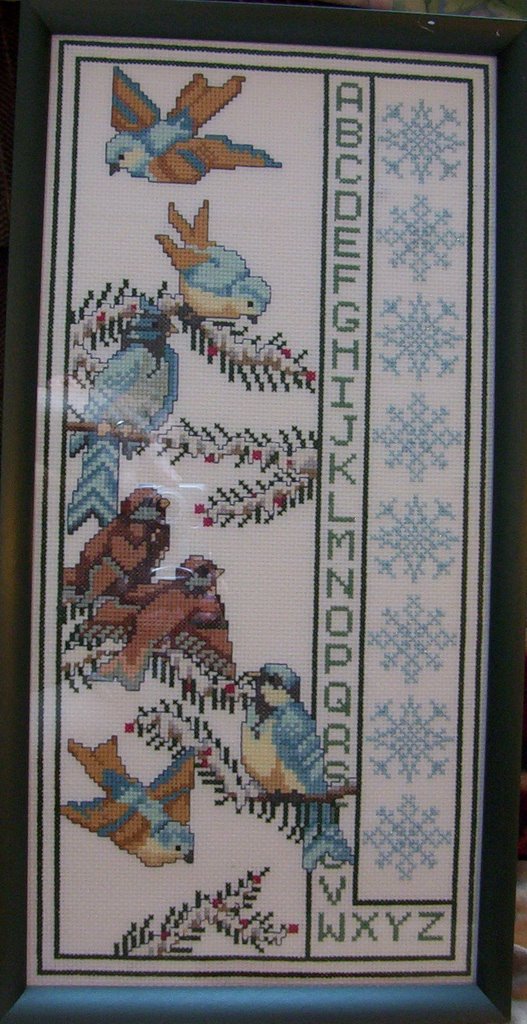 Nick received this pattern & supplies from my Mom [his Grammy K]. He liked the birds & snowflakes! Once he finished it, she paid for the frame. Because of the glass, the image is difficult to photograph. But you get the idea!

 (Back of Bookmark.) I made some examples, for the class, using other colors so the students could have a better idea of working the fibers. I sent those samples to Cathy for the Bookmarks for Literacy outreach program her chapter is doing.
 Very kewl, stitched up last Monday's project. Managed to complete this before 10/31!
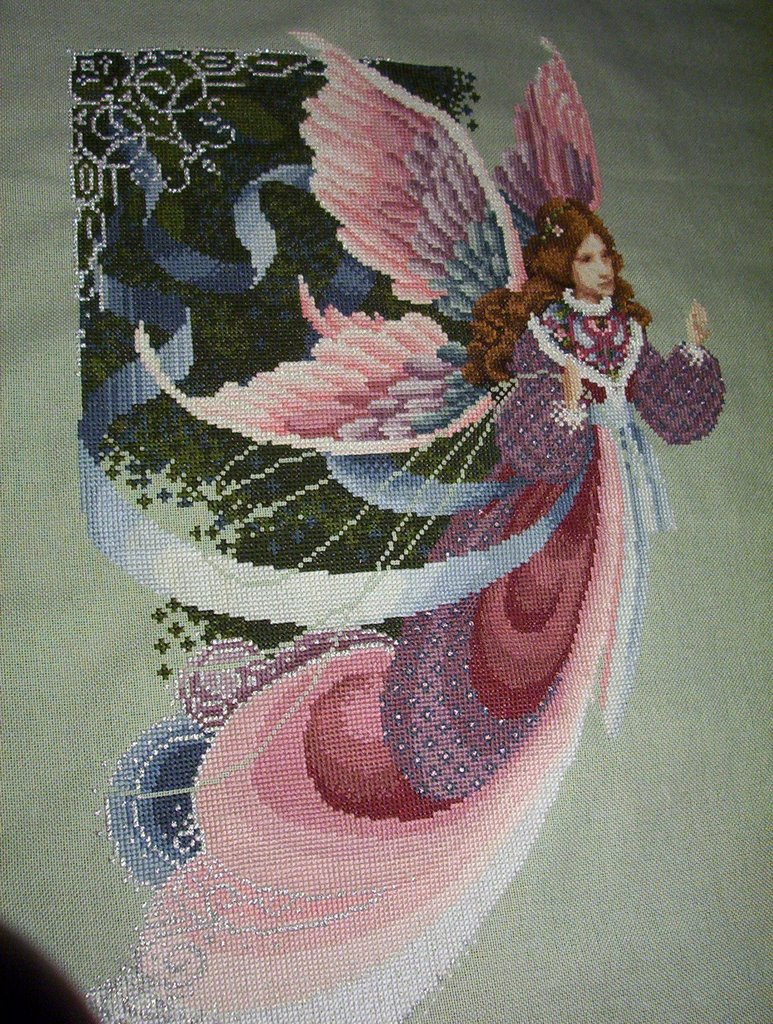 So far, so good.
 This is a close-up of the area he is stitching.
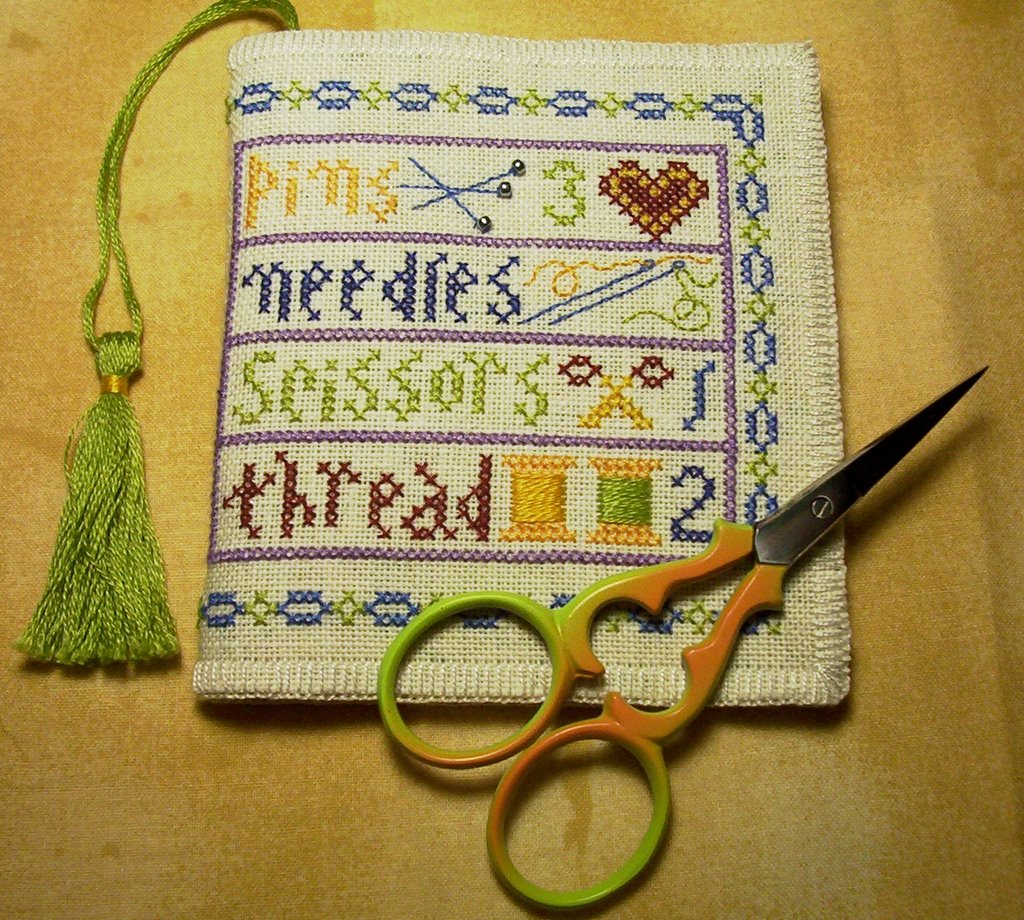 I won this kewl pair of scissors from Jenna.
 I'm thrilled Tori has a camera. Every once in awhile, I get an e-mail with an attachment. Isn't her Halloween hat cute? She is going to be a Cowgirl. She says the hat is pink.
  Sweet.
 My husband brought these home for me to celebrate Sweetest Day.
 These just might be THE most beautiful bouquet of roses he has ever given me. I am enjoying their scent and watching them slowly open.


 My progress. Sampler Game Board C.A. Zittel - The Drawn Thread - c.2003